Loved a recipe? Have a question? Please share a comment. 🙂
This Cat Head Biscuits recipe makes buttery, flaky, huge buttermilk biscuits. They are a wonderfully versatile addition to anyone’s recipe box and there are so many ways to enjoy them!
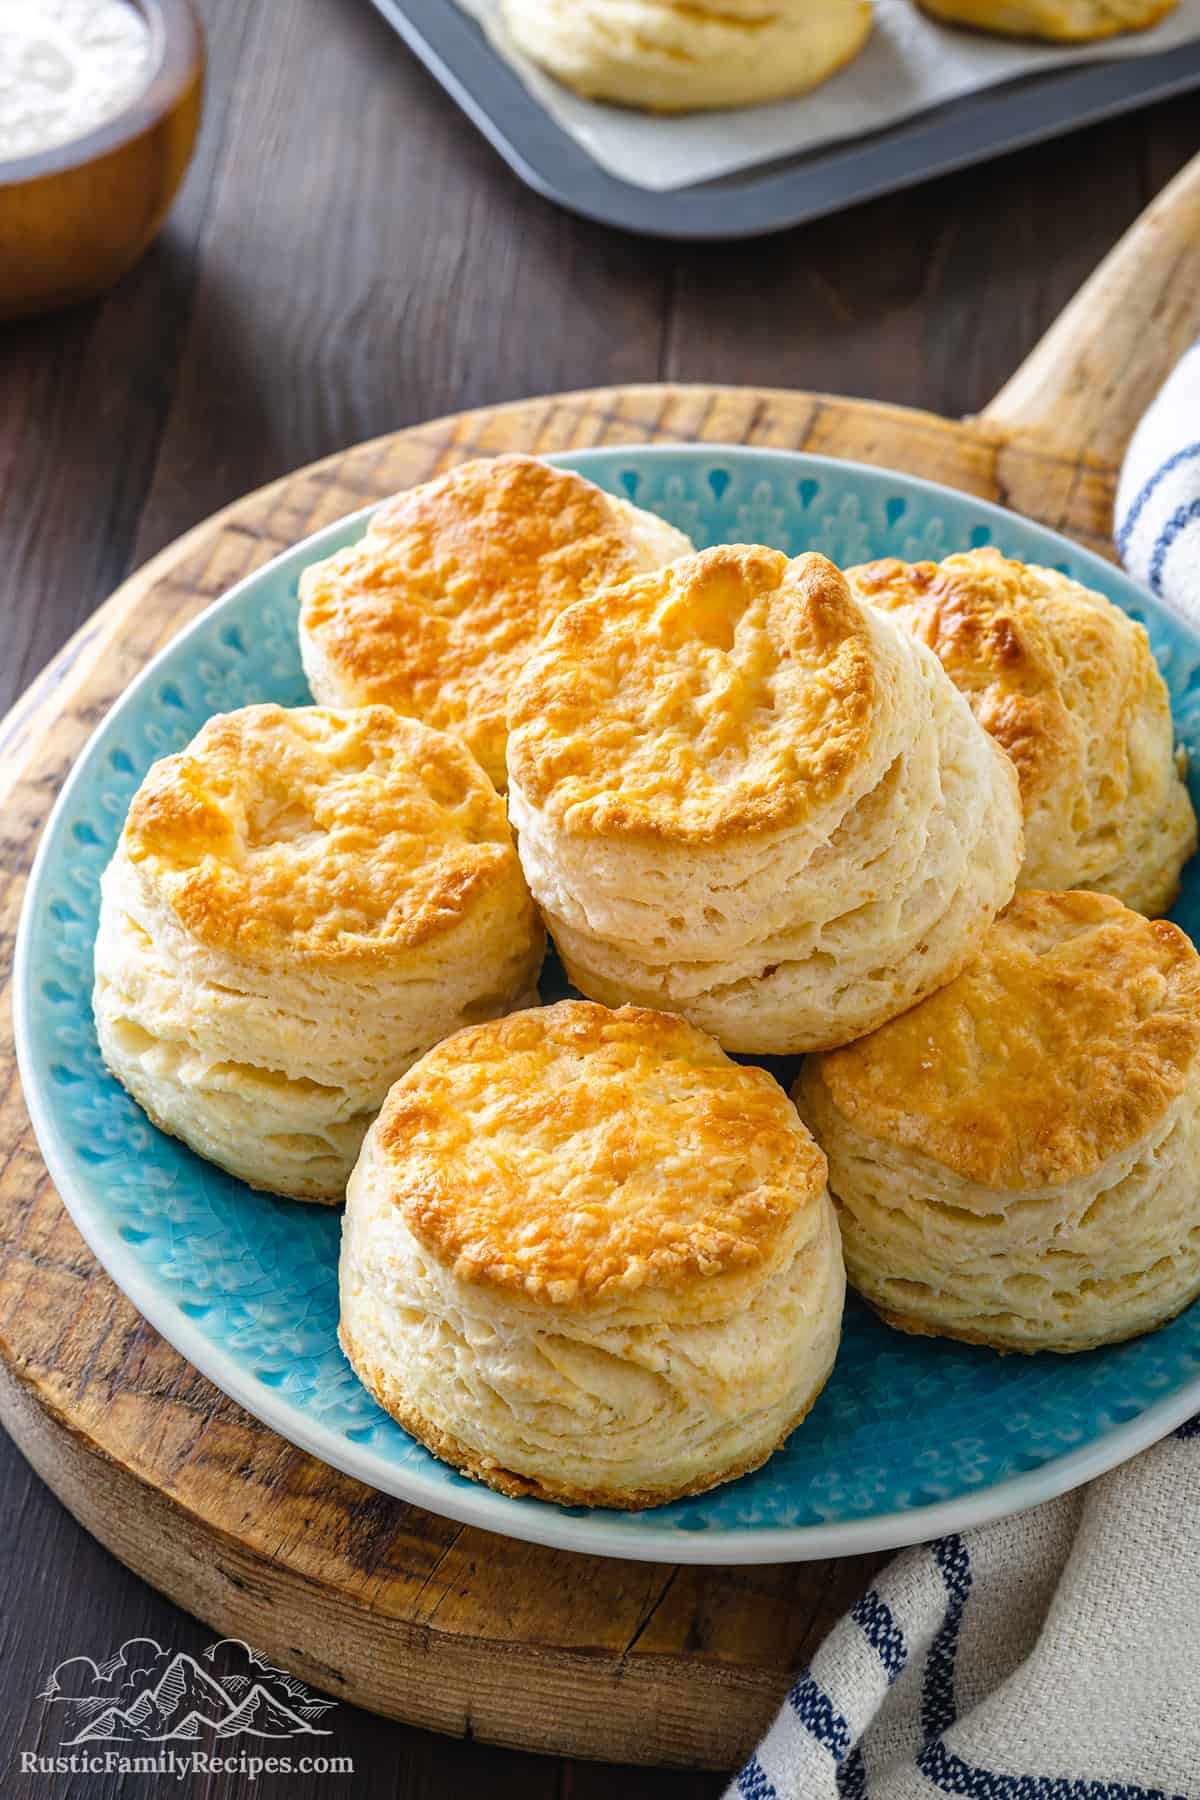
These cat head biscuits give regular buttermilk biscuits a run for their money. They are buttery and flaky and the buttermilk gives them a delightful tenderness and the perfect amount of tang. Plus they are literally the size of a cat’s head!
Why You’ll Love this Cat Head Biscuits Recipe
- Simple. You’ll need only 5 ingredients and a few quick steps.
- Texture. Flaky, buttery melt-in-your-mouth perfection.
- Tangy. I love the tang that the buttermilk brings to these biscuits.
- Versatile. Serve them with sausage gravy, add them to your thanksgiving dinner, or serve them on top of chicken pot pie filling. Make a big batch and experiment with your favorite ways to enjoy them!
Why Are They Called Cat Head Biscuits?
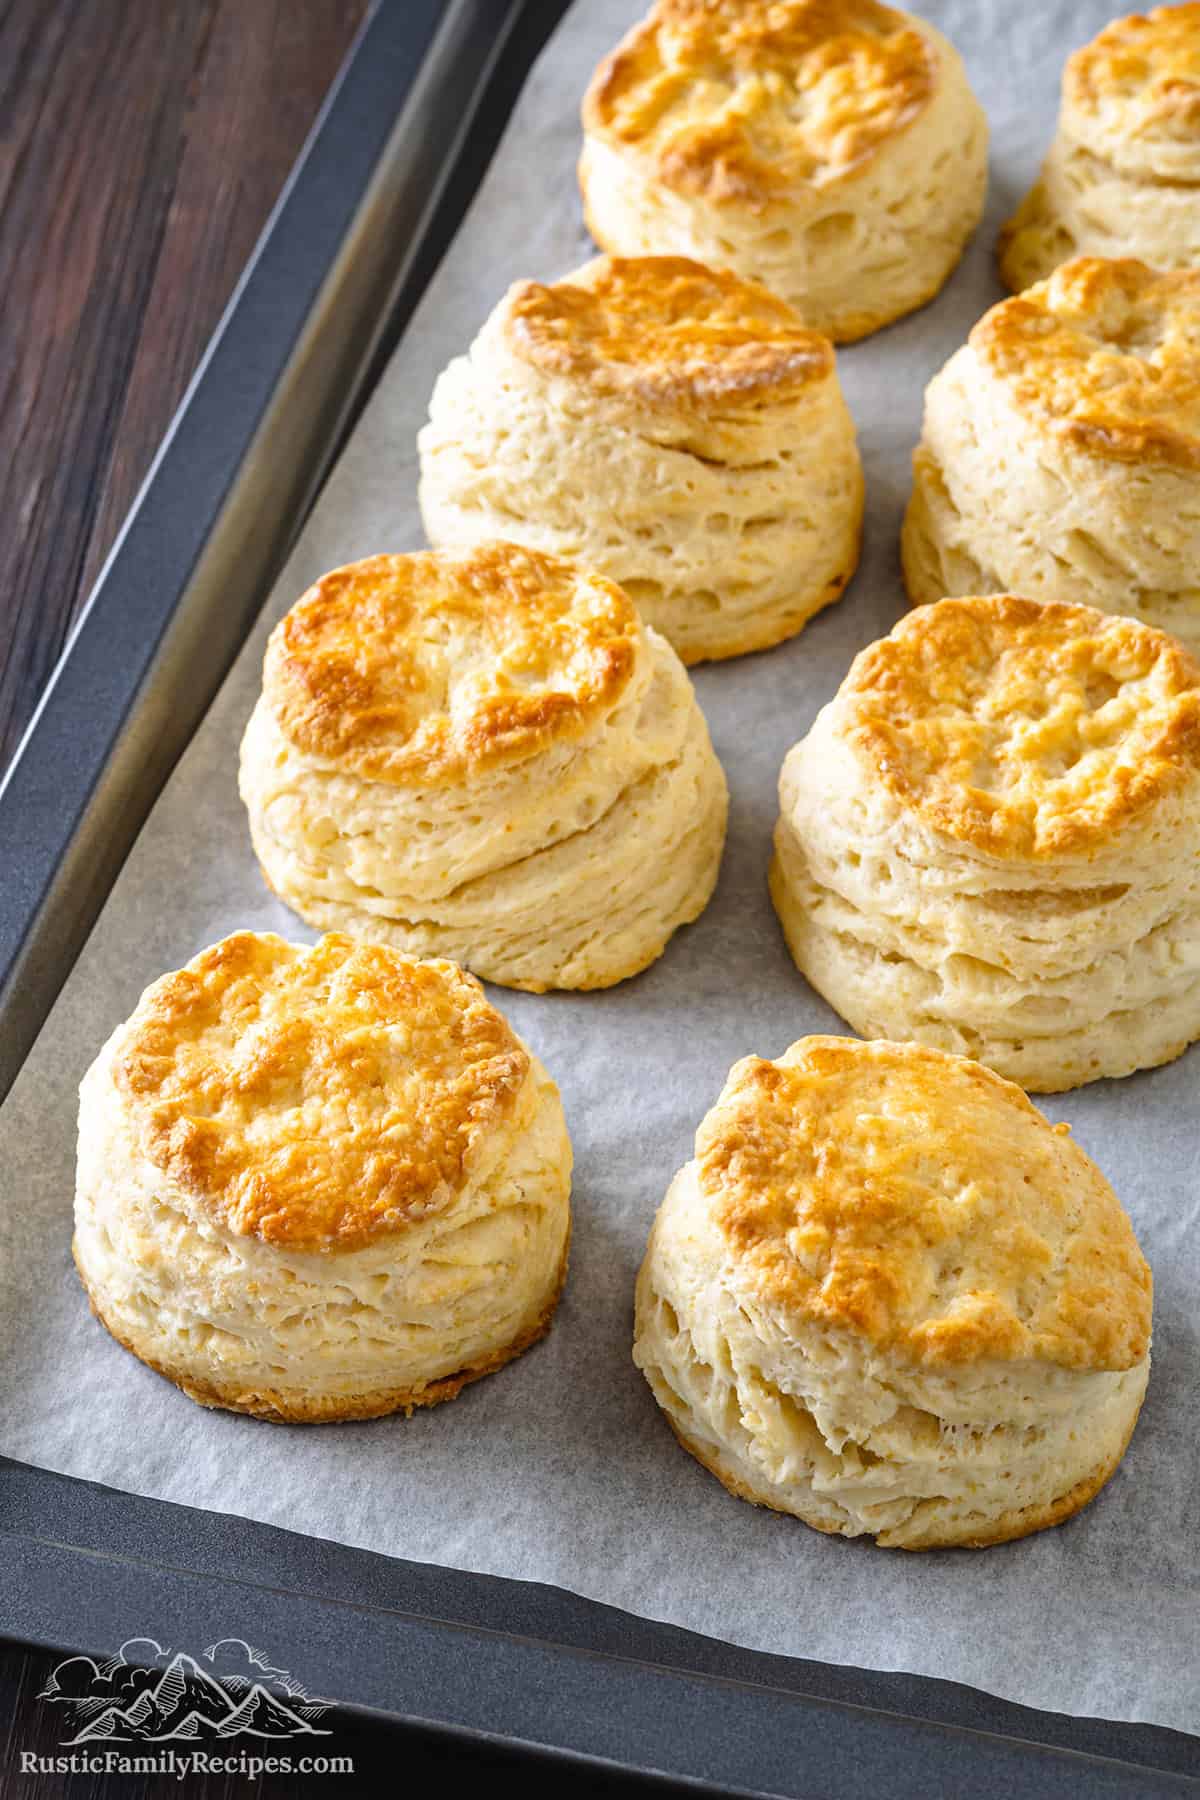
Cat head biscuits is a pre-civil war area biscuit recipe. They are so named because people said they were as big as a cat’s head. I think they are more kitten head sized, but that doesn’t have the same ring to it. 🙂
Ingredient Notes
You only need 5 ingredients to make these flaky buttermilk biscuits. Here’s a quick overview. Make sure to scroll to the recipe card below for exact measurements.
- Unsalted butter – As cold as possible.
- All-purpose flour
- Baking powder – Make sure your baking powder is still good. After about 6 months, it starts to lose its potency.
- Kosher salt
- Buttermilk – Don’t use a different kind of milk here. The buttermilk adds tenderness and a tang that other products do not.
How to Make Cat Head Biscuits
Here’s a quick rundown of how to make these southern biscuits. Be sure to scroll to the recipe card below for more detailed instructions.
- Prep your tools. Preheat the oven to 400 degrees F and line a baking sheet with parchment paper.
- Cube the butter. Store it in the refrigerator until you’re ready to use it.
- Combine dry ingredients. In a large bowl, combine the flour, baking powder, and kosher salt.
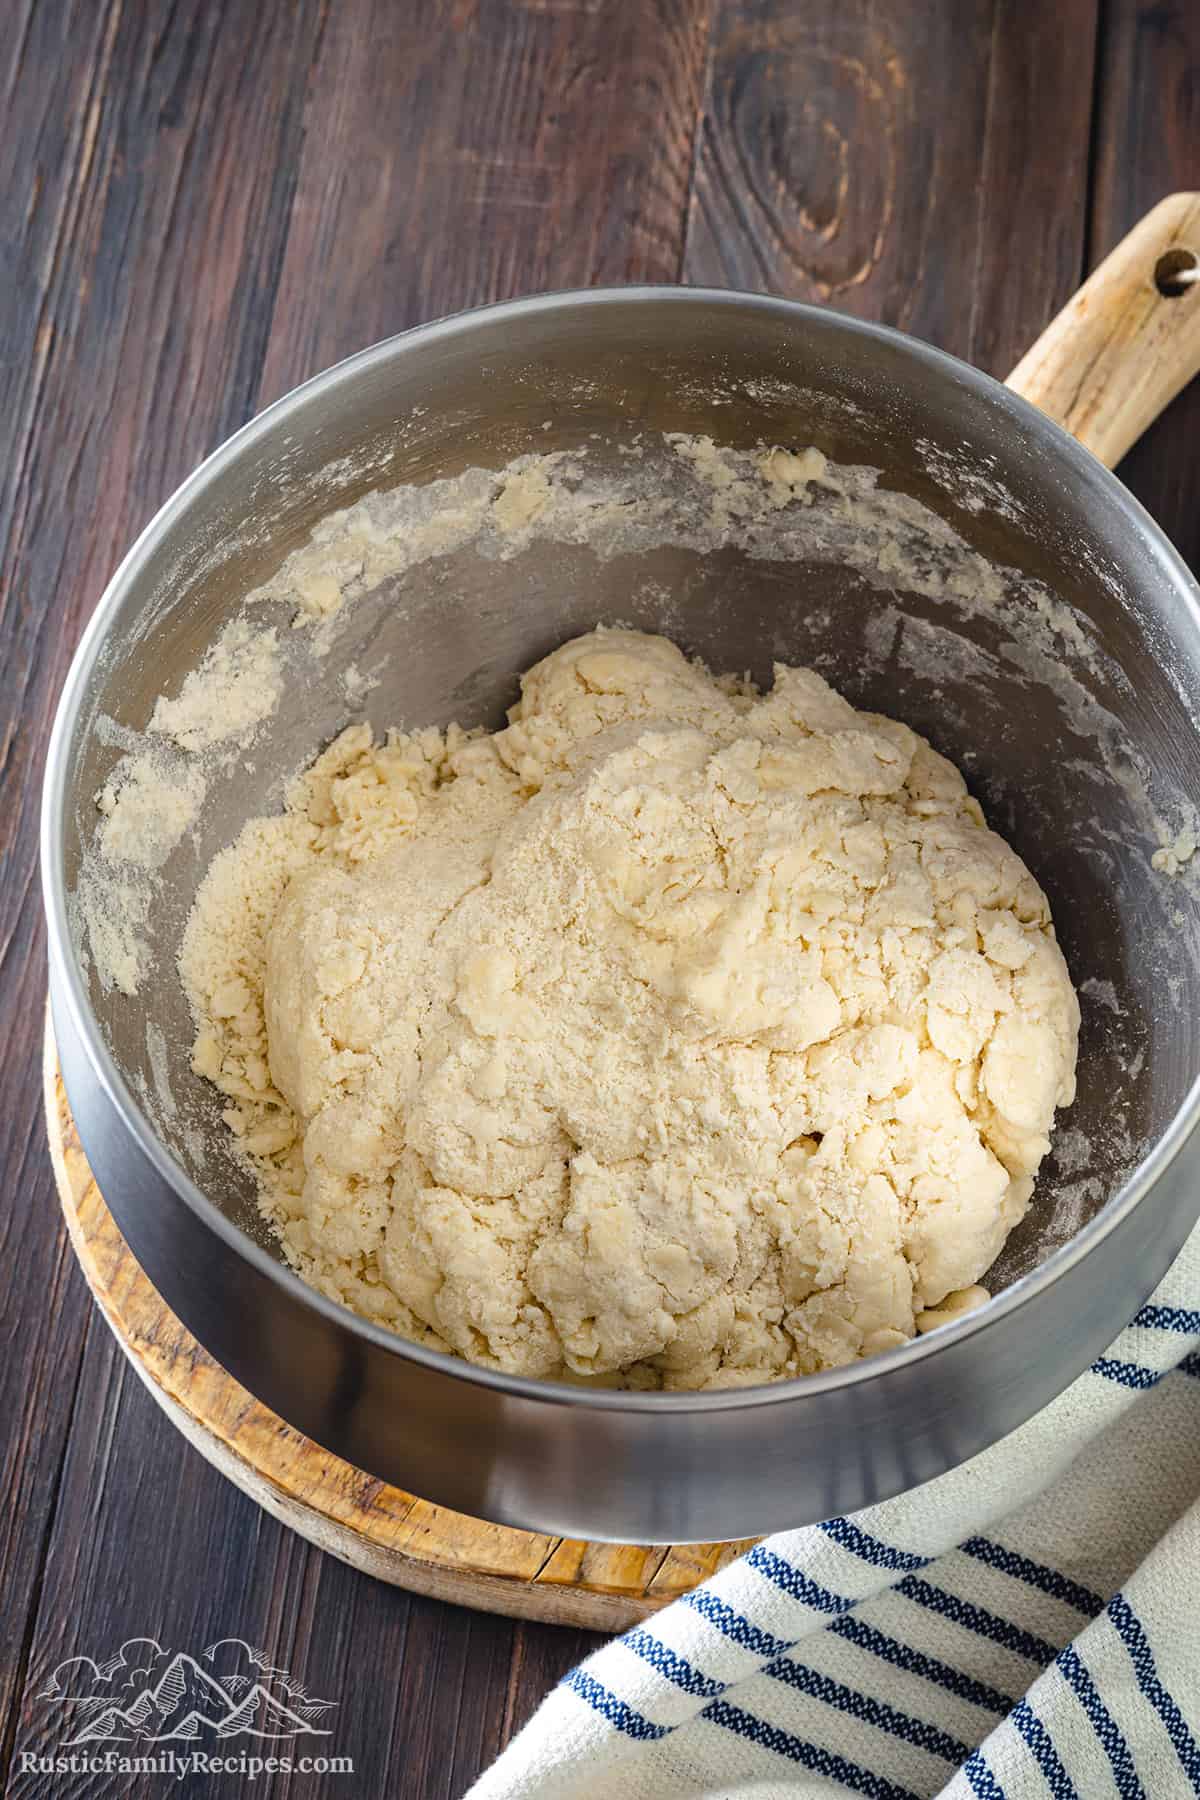
- Add the chilled butter. Work it into the dry ingredients with your fingers by pressing the butter and flour mixture together. Or, you can mix on low speed until the cubes of flour are distributed evenly. The mixture should resemble coarse breadcrumbs.
- Add some of the buttermilk. Mix until just incorporated and you have a dough that holds together.
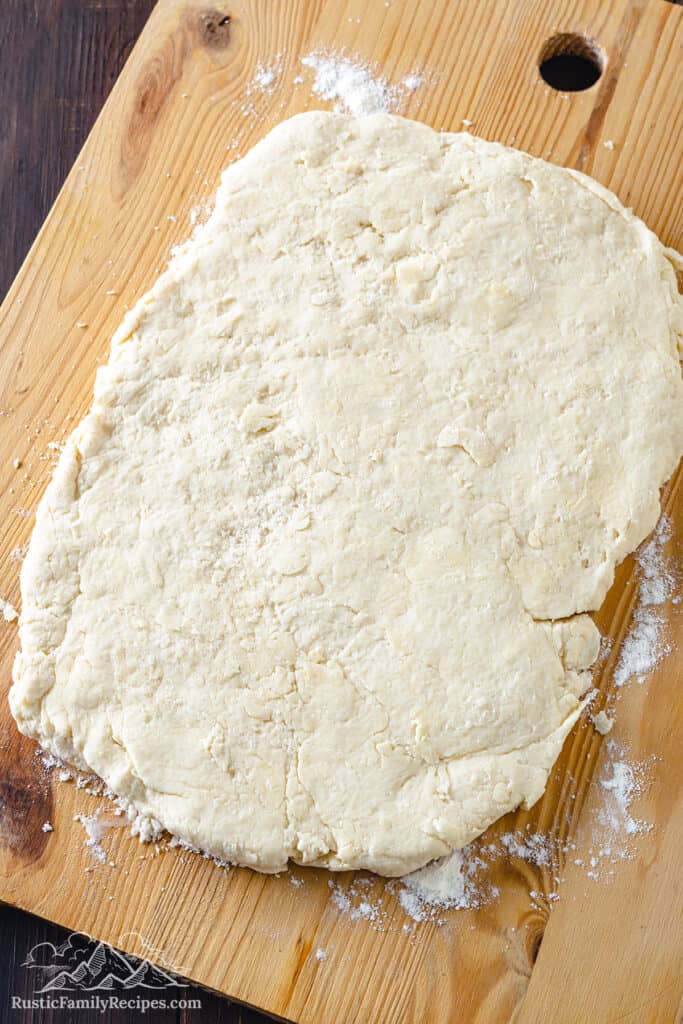
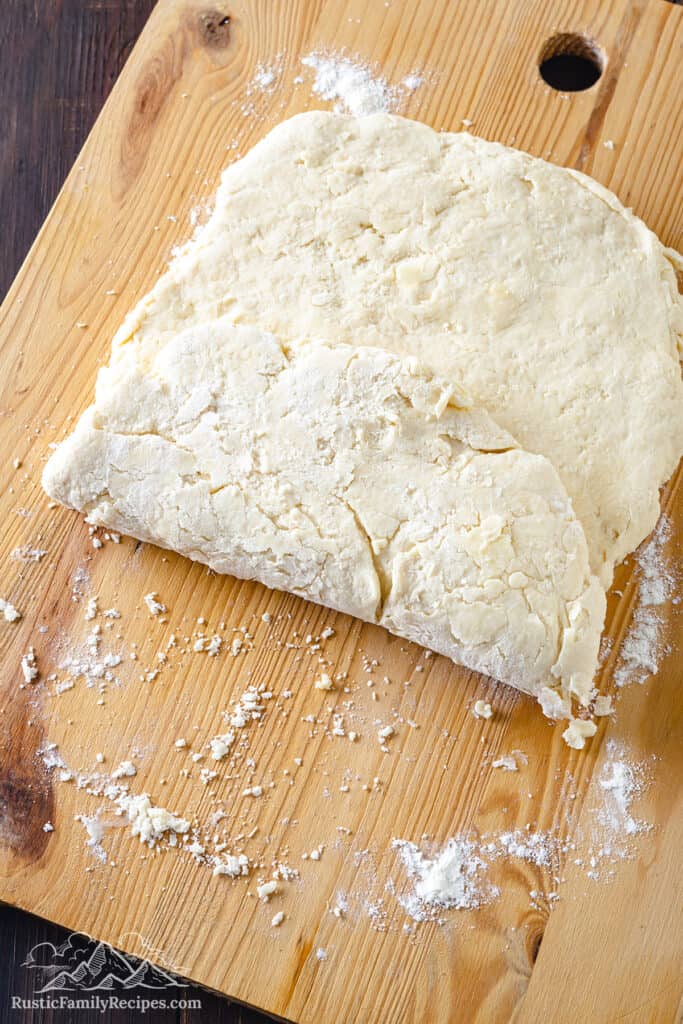
- Roll and fold the dough. Roll the dough flat with a rolling pin on a well-floured work surface. Fold the dough over itself into thirds, roll flat again, and repeat.
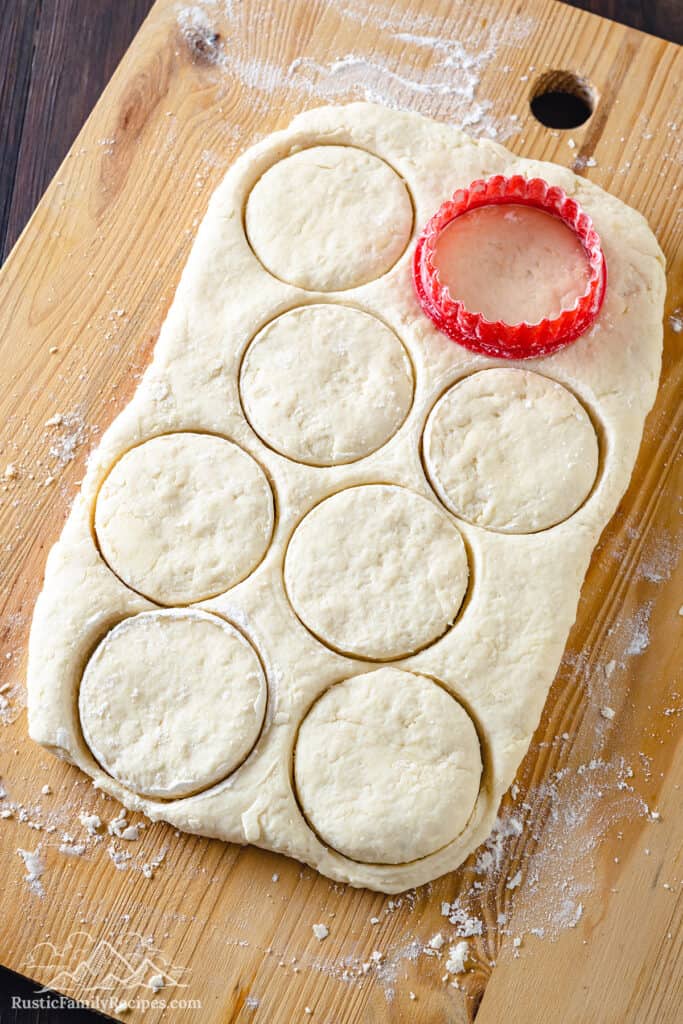
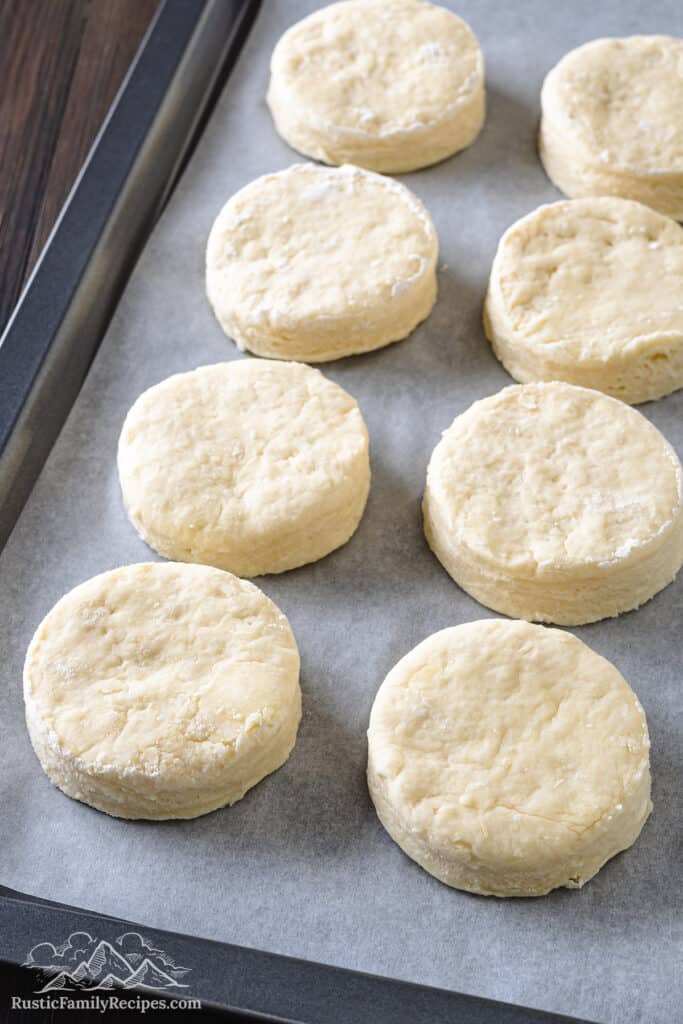
- Shape the biscuits. Cut the dough into 8 large circles. You can roll up extra dough and shape it into additional biscuits around the same size. (Note that the biscuits made with the dough scraps won’t be as pretty but they’ll still be tasty!)
- Bake. Arrange the biscuits on the prepared baking sheet, brush with the remaining buttermilk, and bake for 22-28 minutes or until golden brown.

Tips for Perfect Biscuits
Biscuits are a marvelously simple thing. That being said, there are some important tips and tricks to keep in mind if you want to get them right. Here they come.
- Keep the butter cold. Cold butter will release steam as it cooks, giving loft to the biscuits and making them flaky. So keep it in the refrigerator until you are ready to cube it. I even suggest popping it back in the fridge for a couple of minutes before incorporating the cubes into the dough.
- Aim for pea-sized butter. When mixing the butter with the dry ingredient, do not let it break down into too-small pieces. The larger chunks of butter are largely responsible for the flaky texture you are aiming for.
- Cold buttermilk. Keep the buttermilk in the refrigerator all the way up until adding it to the dough. This will help keep the temperature of the dough down and the butter from melting.
- Don’t overwork the dough. When mixing the ingredients together, mix just until incorporated. No more. Otherwise, the gluten in the flour will overdevelop and leave you with tough biscuits. When rolling the dough out, note that hands give off a lot of heat. Handle the dough as little as possible to avoid melting the butter.
- Chill the dough. If you feel the dough has gotten too warm, pop it in the refrigerator before cutting and baking. It is important that the biscuits start their journey in the oven as cold as possible.
Ways to Use Them
The possibilities are nearly endless but here are some of my favorite ways to use them.
- With gravy. Smother these biscuits with sausage gravy (linked above) you are well on your way to the perfect southern breakfast.
- With eggs. Serve them with scrambled eggs, or make a fried egg and let the yolk spill into the tender biscuit.
- Butter and jam.
- Butter and honey. Spread your biscuit with softened butter and drizzle it with honey. So good.
- Chicken pot pie. Whip up a chicken pot pie filling and top it off with these buttery cat head biscuits.
- Thanksgiving side dish. Slather them with butter and serve them with Turkey and cranberry sauce.

How to Store Cat Head Biscuits
- Counter: Allow the biscuits to cool to room temperature before sealing them in an airtight container or wrapping them in plastic wrap. You can store them on the countertop for up to 2 days.
- Fridge: Place them in an airtight container in the refrigerator for up to 5 days.
- Freezer: You can also freeze cat head for up to 6 months. I suggest wrapping the individual biscuits in a double layer of saran wrap to prevent freezer burn.
- To Reheat: Allow them to thaw at room temperature or pop them in the oven at 350 degrees F for 5-10 minutes before diving in.
More Bread Recipes
Biscuits are one of my favorite comfort foods. Here are some more recipes to try!
Cat Head Biscuits
Ingredients
- 2 sticks unsalted butter
- 3 cups all-purpose flour
- 3 tablespoons baking powder
- 1 ¼ teaspoons kosher salt
- 1 ½ cups buttermilk, divided use
Instructions
- Preheat the oven to 400 degrees F and line a baking sheet with parchment paper.
- Cube the butter and store it in the refrigerator while you prepare the dry ingredients.
- In a large bowl or the bowl of a stand mixer, combine the flour, baking powder, and salt on low speed until incorporated.
- Add the chilled butter to the bowl. Work it into the dry ingredients with your fingers, or mix on low speed until the cubes of butter are spread evenly throughout the flour mixture and it resembles coarse breadcrumbs.
- Add 1 ¼ cups buttermilk and mix on low speed until just incorporated
- Turn the dough out onto a well-floured work surface and roll it flat with a rolling pin.
- Fold the dough over itself into thirds and roll flat again.
- Repeat step 7.
- Cut the dough into 8 large circles and arrange on the prepared baking sheet.
- Brush the biscuits with the remaining buttermilk.
- Bake for 22-28 minutes, or until light golden brown.

